Prep the Motherboard
- Install the CPU
- Install the RAM
- Install the Storage


A couple of weeks ago I reviewed the NANOQ S—and I was pretty impressed by it then. I think it’s an incredible-looking premium case for a high-end build, and at the end of that video, I said I wanted to check out the larger 16L size to see how it would compare. Thor Zone was nice enough to send it over, so this is it right here: it’s the Nanuk R. Now, in that previous video, I pronounced the name wrong the entire time—it’s correctly pronounced “Nanuk” and not “Nanoq,” which means polar bear if you’re curious.
Okay, so anyways, what’s the difference here? Well, for starters, it’s larger. We have that 5L difference between the two, so it’s closely matched to the M1 Evo or the Dan C4, whereas the S is closer in size to the T1 or the Dan A4 H2O. Now, both of these are mini-ITX only, but with that extra size comes more cooling potential, a slightly easier build process, and, of course, you can fit larger components. The smaller 11L S I have here is in the carbon color—which is really just black—and I think the colorway looks exactly as you would expect it to. With the R, I have graphite. It’s a bluish-gray color, and I think it also looks nice. That blue tint is more prominent than I was expecting from the renders, and it definitely shows more depending on the lighting, but still, I think it looks nice. It’s a unique color that I haven’t personally seen before on a case.
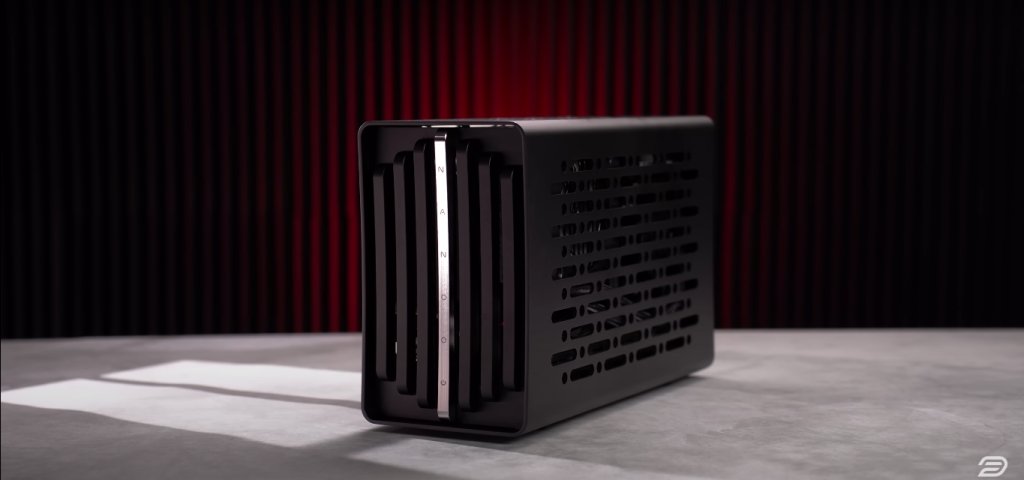
The NANOQ R features seven top panels, each with a specific function. The center panel houses the branding and power button, the outer four are magnetic and reveal fan mounting points, and the two panels adjacent to the center slide up to unlock the outer shell. Inside, you’ll find an accessories box with individually foam-surrounded screws, adding to the premium feel. As with the NANOQ S, the interior is minimalistic, featuring steel rods connecting the front and back panels, which are flat on one side for easy radiator or fan mounting.

I’m going to be installing the ASUS TUF 4070 Ti Super. So, this is a pretty thick card—it’s 3.25 slots. My thought process here is that even though I know I’m going to be more limited on CPU cooling space with this thicker card, I think that a lot of people who would be going for the R over the S will probably want to use a bigger card, and so I still think it would be interesting to see what we can get away with for air cooling with a large card like this. Now, if you want to see more about the 470 TI super actually did a review on it last month when it launched. I’ll leave a link in the description of my YouTube video.
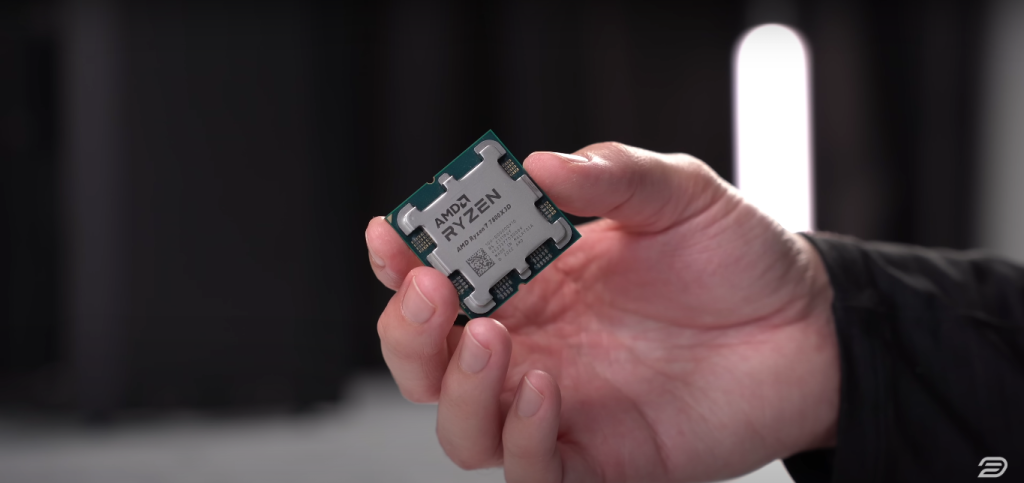
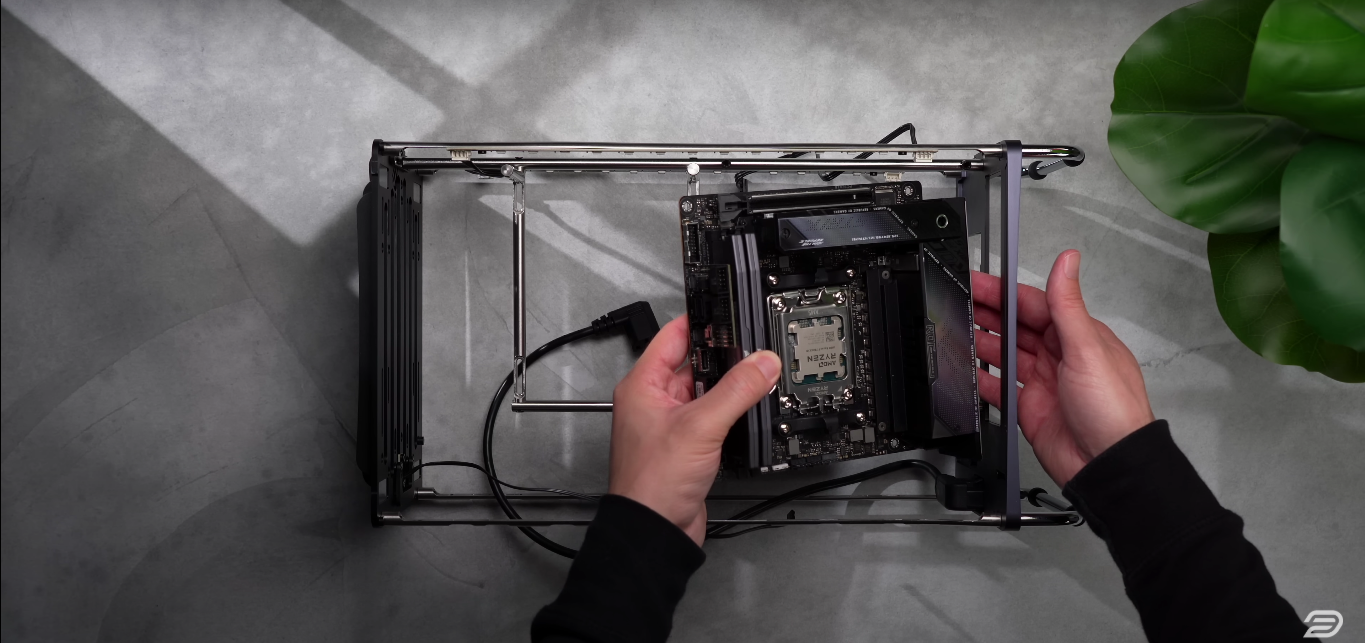
For this build, I’m using a 7800X3D
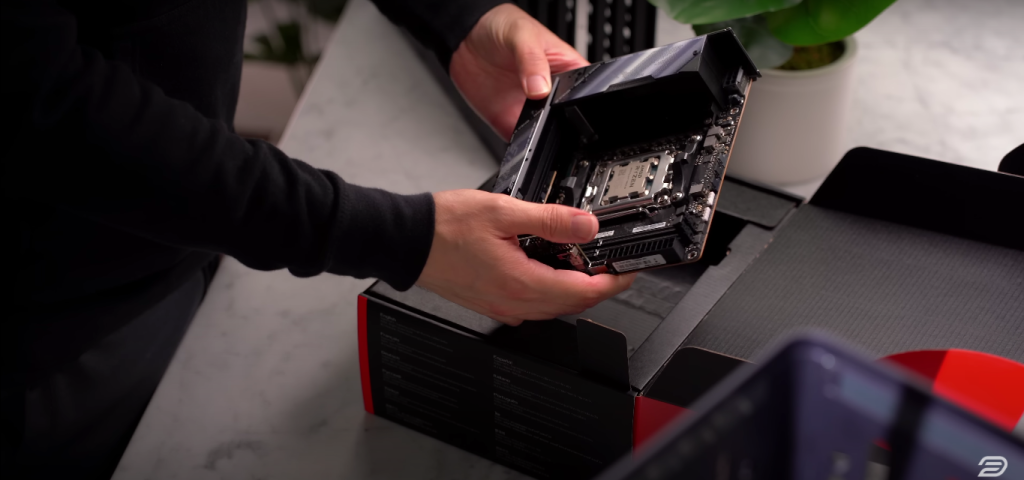
I am using the ASUS ROG Strix X670E-I motherboard for this build.
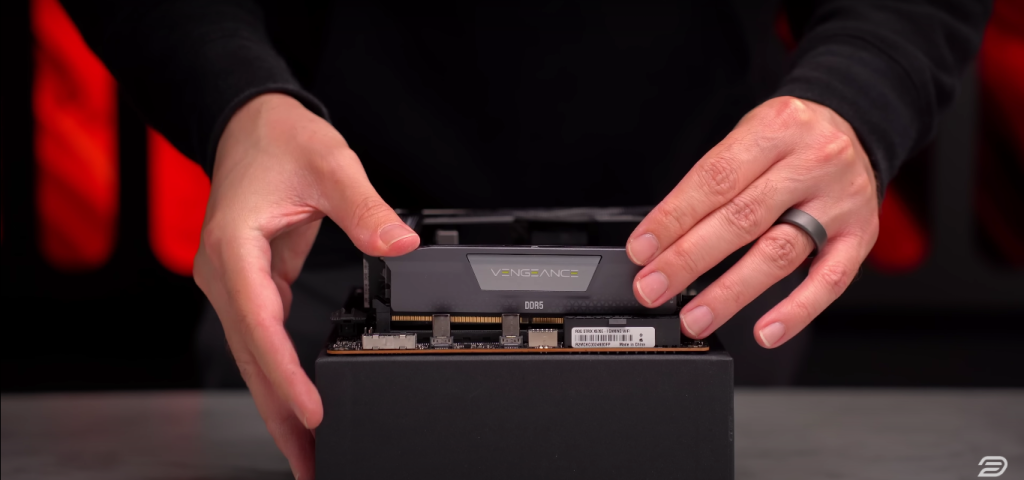
In this build, I’m using DDR5-6000 and a 1TB 980 Pro SSD.
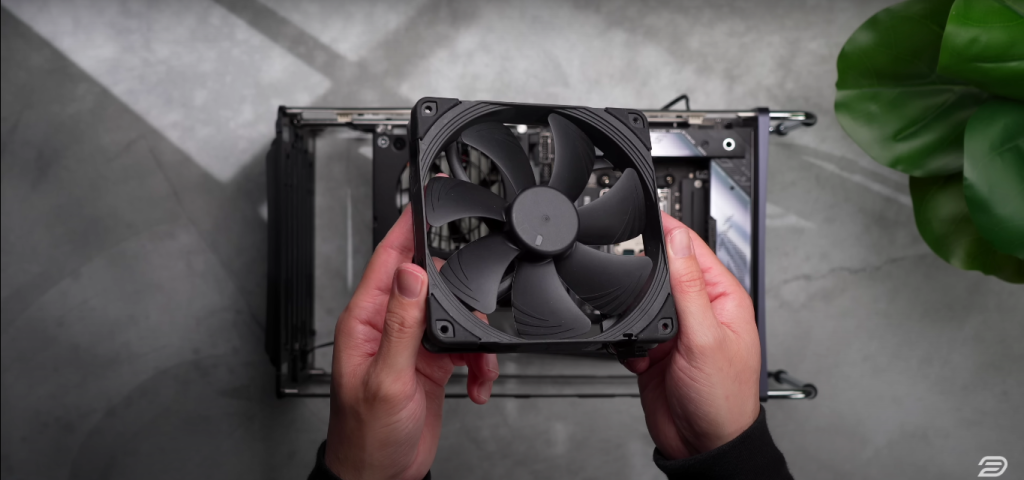
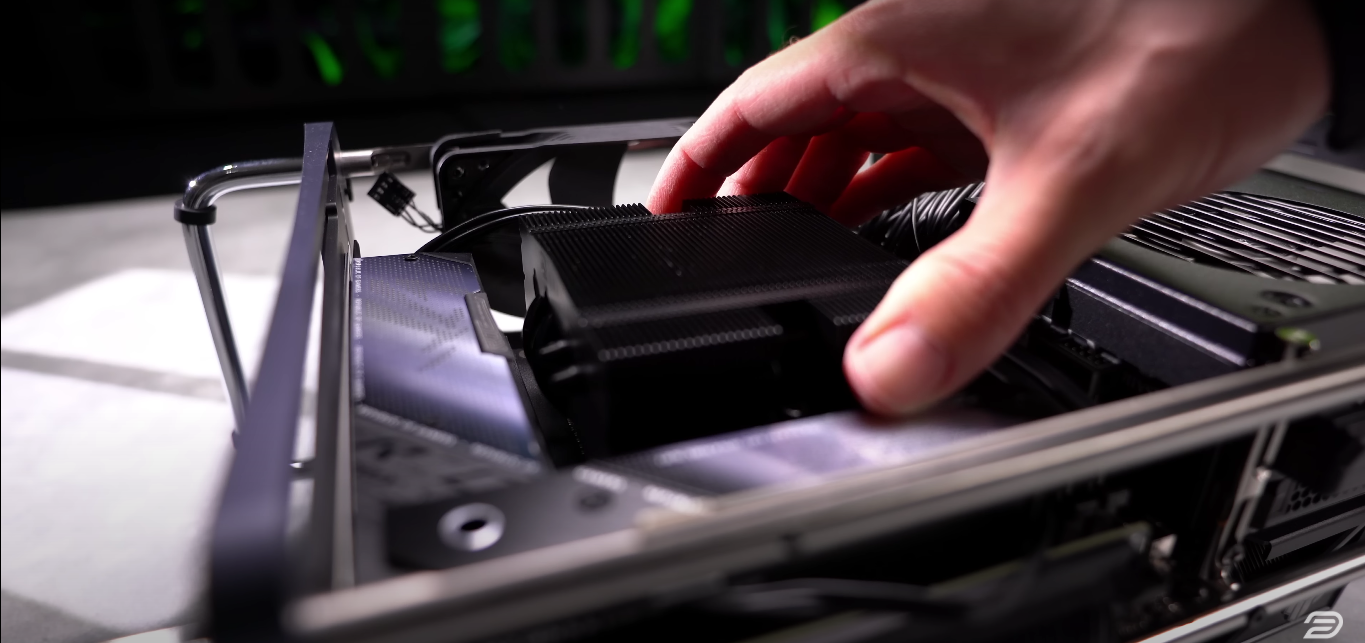
The fans I decided on were the 140mm Noctua NH-L9X65 chromax.Black

Now, sandwich-style layouts like this one are pretty limited when it comes to CPU cooler height, but just like the Fractal Terra and the FormD T1, this case has the ability to adjust that center spine, which helps add a lot more versatility into your component selection.
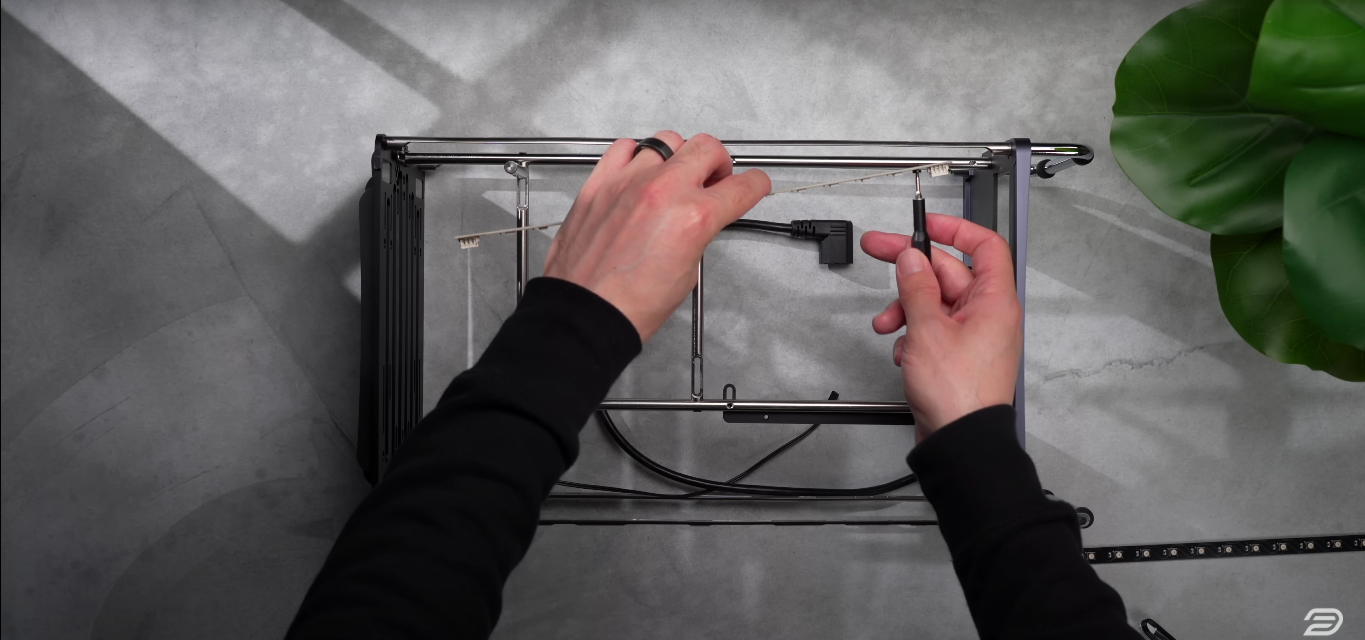
The light rays and handles are easier to install before the components are installed— something I had to learn the hard way.
Install power supply:
While you won’t be able to use the regular screws that come with your power supply, six longer screws come with your case, which can reach through the rod to secure the supply.

Included are 4 long screws and bolts, leaving you with 2 for either fan. Standard fan screws are too thick to fit in the mounting holes.
Install the PCIe riser cable:

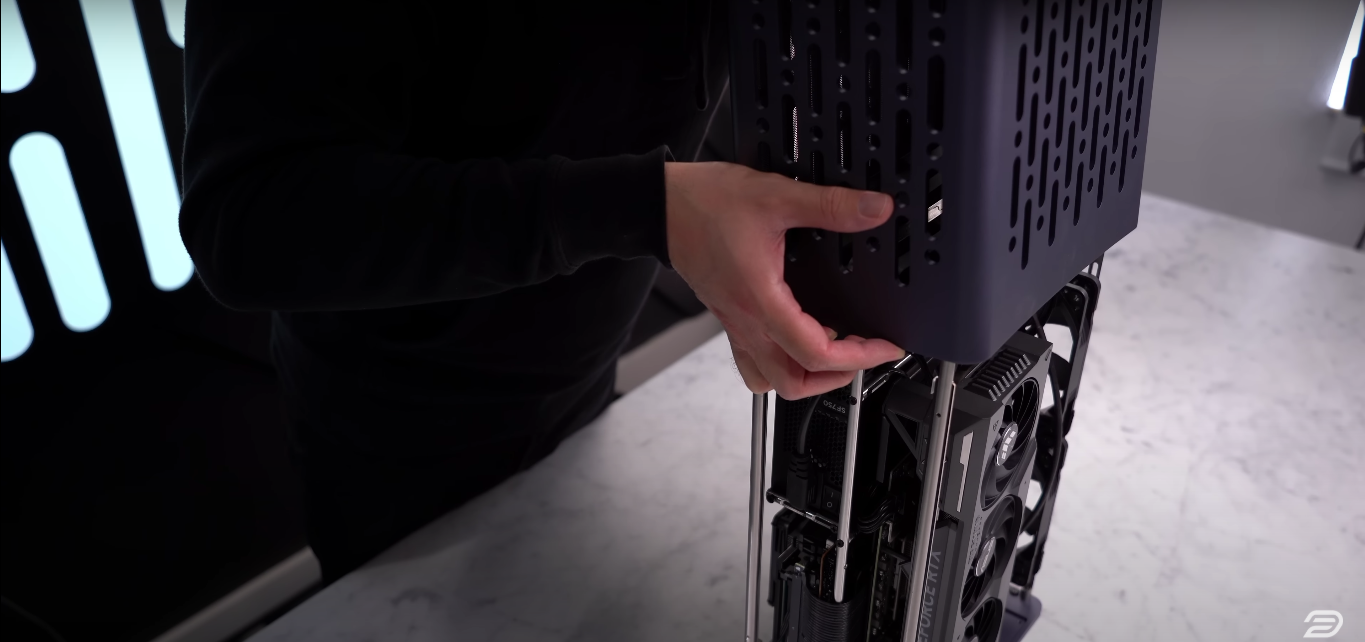
There is only one mounting point in this case, other than the riser cable. This leaves the GPU pretty unstable, so I ended up using a ziptie to secure the end of the card to one of the case rods.

Testing with Cyberpunk 2077 at ultrawide 1440p resolution with ray-traced ultra settings, the 7800X3D remained in the mid-70s, and the GPU stayed at or below 70°C. The 140mm fans contributed to the cooling but added noise, measuring 44-45 decibels.
In other CPU-intensive tasks, temperatures rose into the 80s, with fan noise reaching around 50 decibels. While the Noctua cooler is impressive, I recommend using an AIO for this case or a smaller GPU with a more robust air cooler.
Overall, the Nanoq R is a solid choice for those looking to use larger components while maintaining a compact form factor.